Step 3, Walk
In the previous step you learned to program the LED. Now it’s time to make the Simple Walker walk!
De trick of making the Simple Walker walk is to figure out the correct sequence of motor movements. Have a good look at the video below. It shows how the legs move:
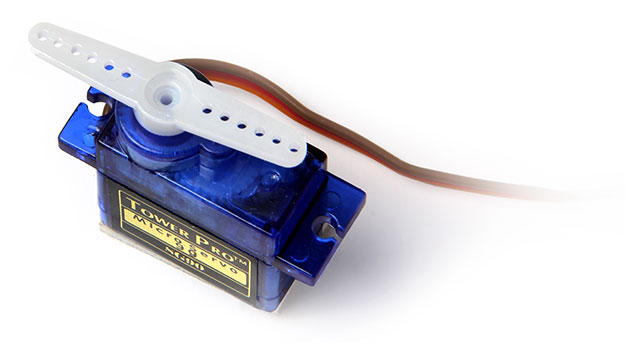
The Simple Walker contains two servo motors. One for the front legs and one for the hind legs. They look like this:
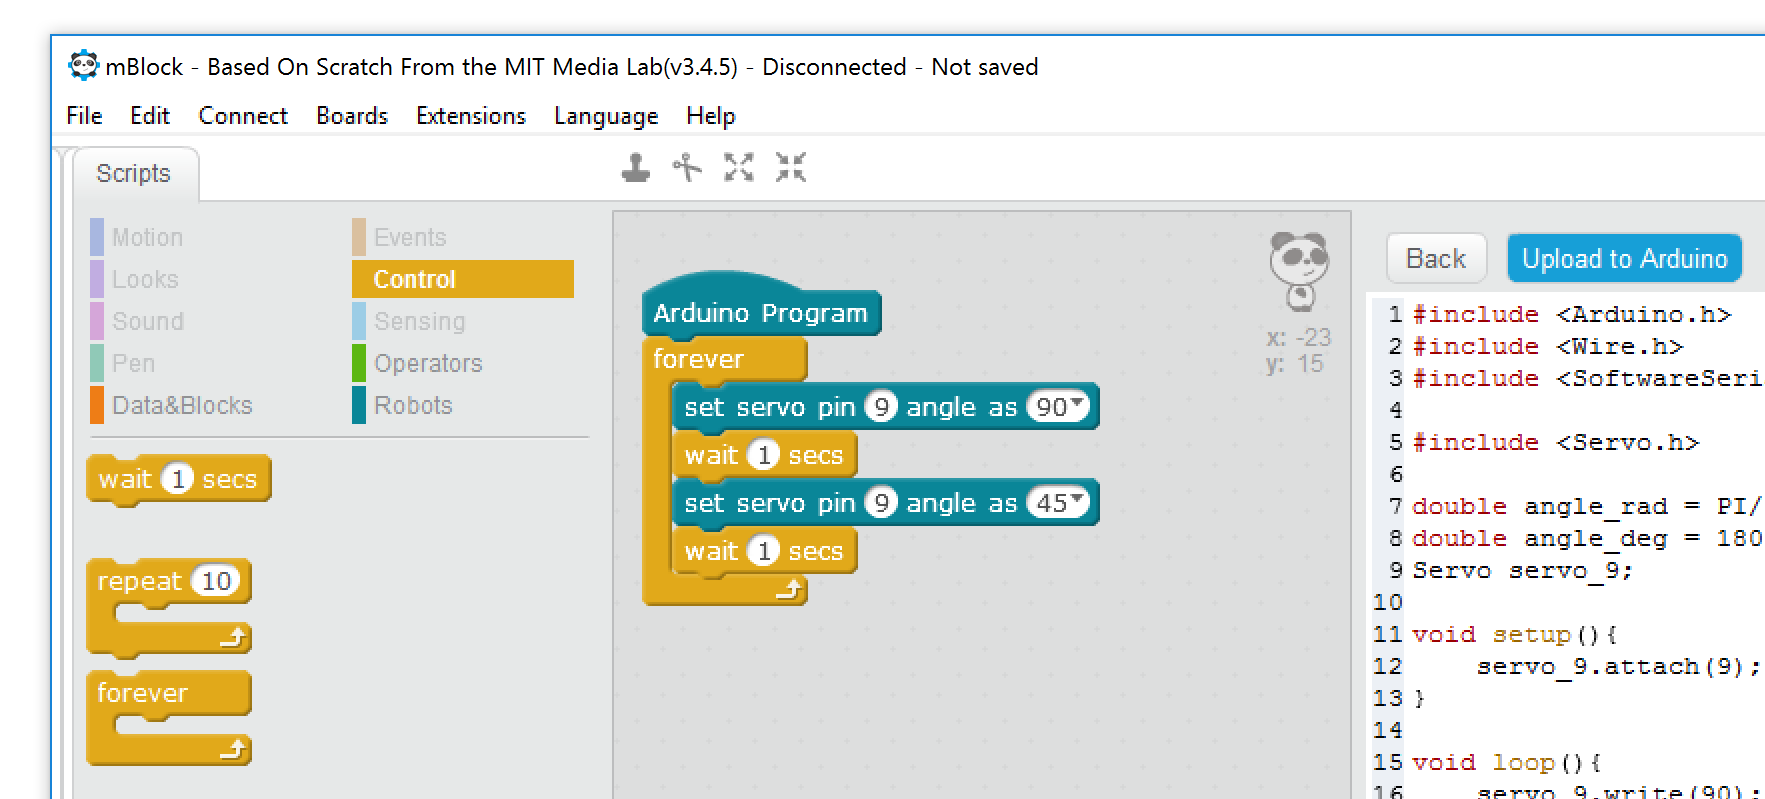
mBlock has a specific block for controlling those motors:
![]()
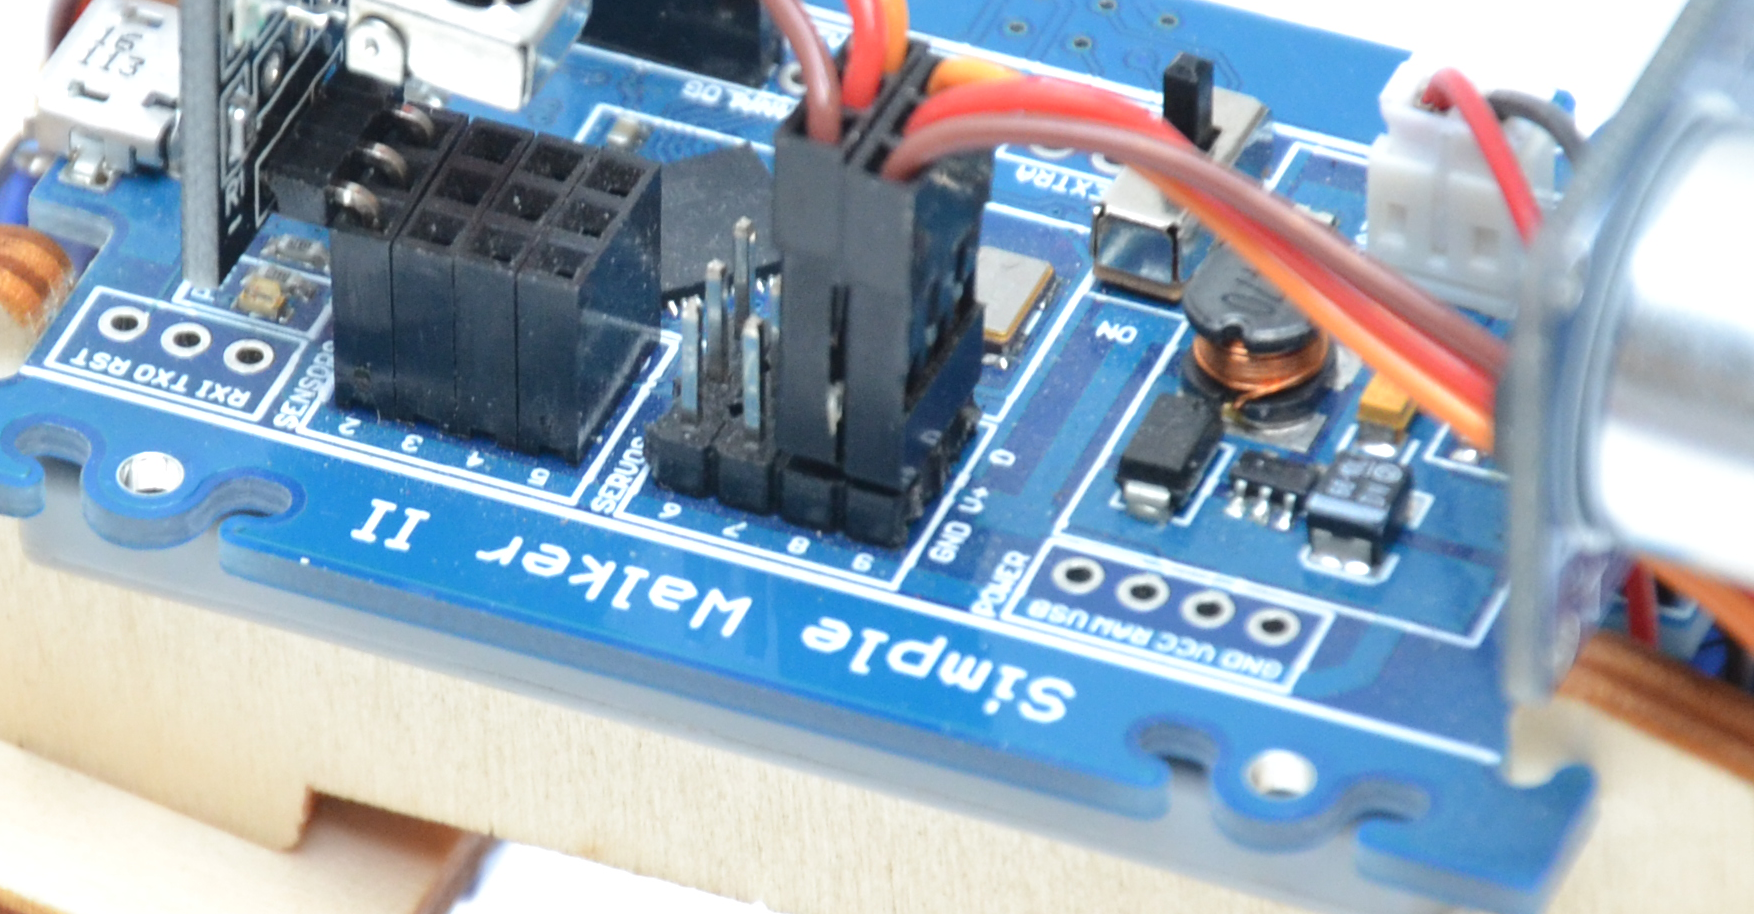
With this block you move the servo, connected to pin 9, to 90 degrees. You can of course change those values. The angle can be any value between 0 and 180 degrees. The servo pins on the Simple Walker are 8 and 9 (pin 8 is connected to the servo for the hind legs, and 9 is connected to front servo).
Let’s start by creating a sketch that moves the front servo back and forth between 45 to 90 degrees.
Puzzles
Puzzle 1
Make the Simple Walker walk. Have another look at the movement that the Simple Walker makes to walk first.
Can you recreate this movement? Or, maybe you can find an even better way to make the robot move.
Puzzle 2
Adapt the sketch above to make the Simple Walker walk backwards.
Puzzle 3
Get the Simple Walker to walk straight. You might have noticed that it is hard to make the Simple Walker walk in a straight line. This is because when you’re constructing the robot it is virtually impossible to get the legs in an exact 90 degree angle with the body of the robot.
No worries. You can fix this in the software. If you play around a bit with the precise angles of movement of the servos you can get the Simple Walker to keep on the straight and narrow.