Required Components
Instructions
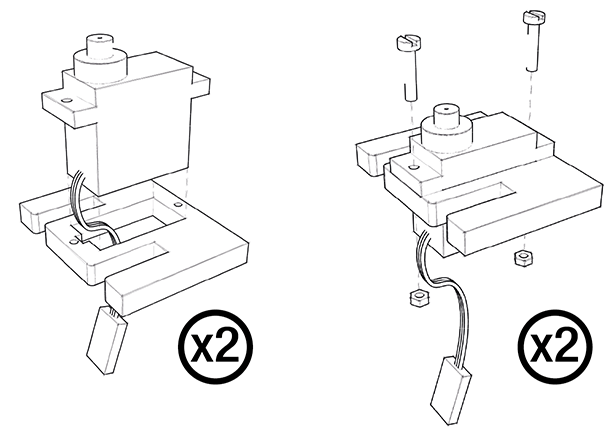
1
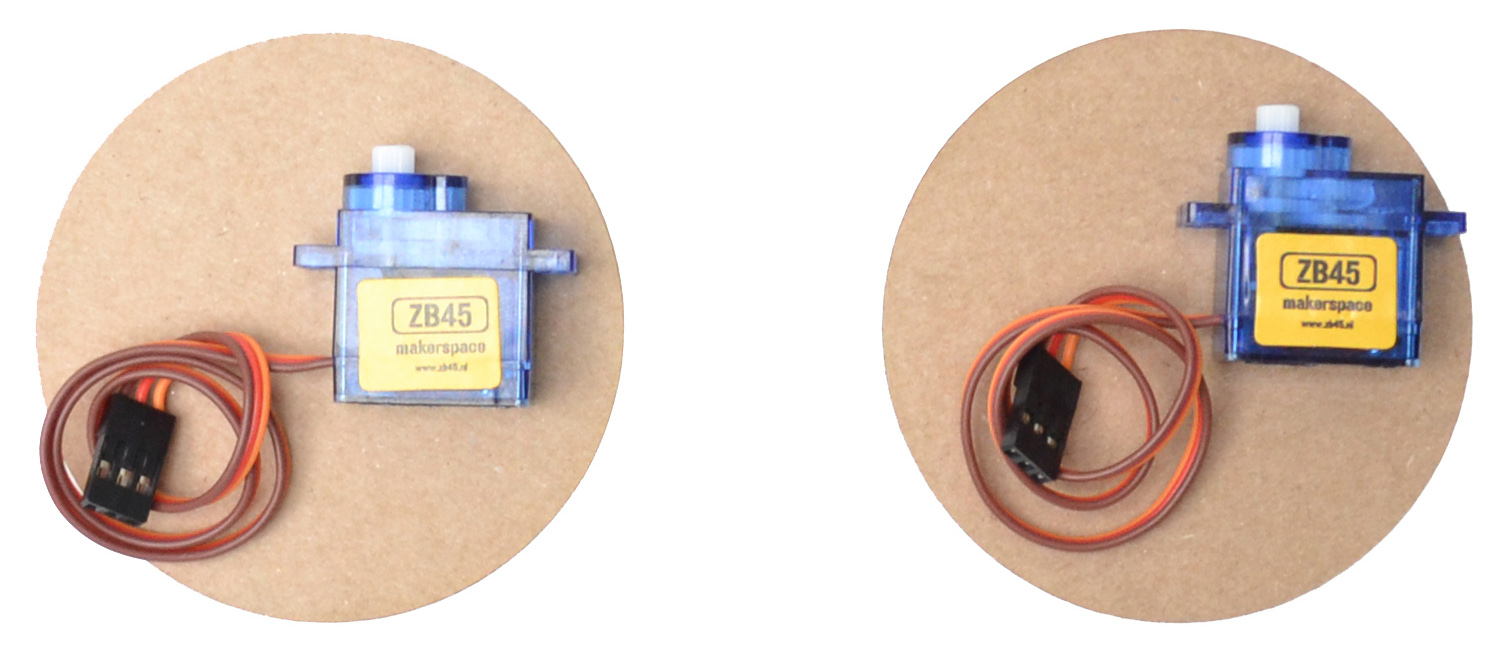
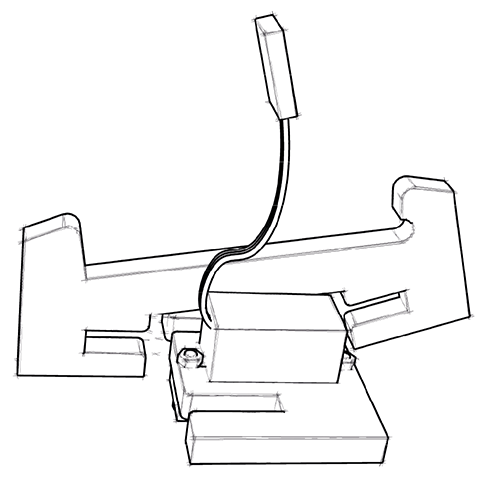
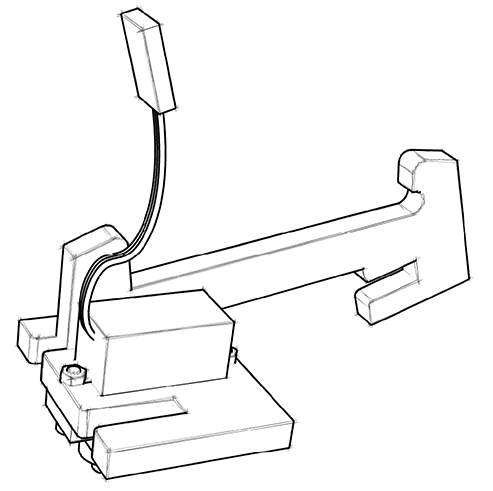
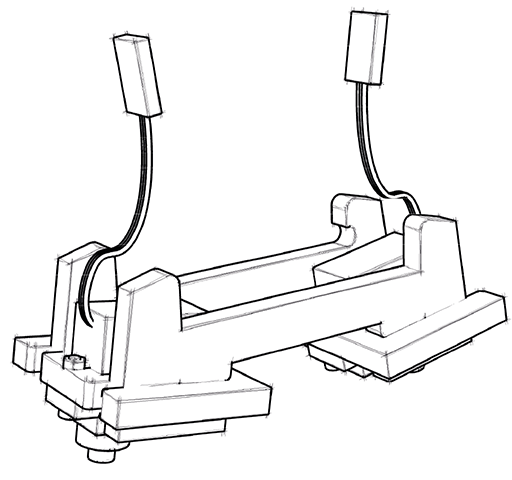
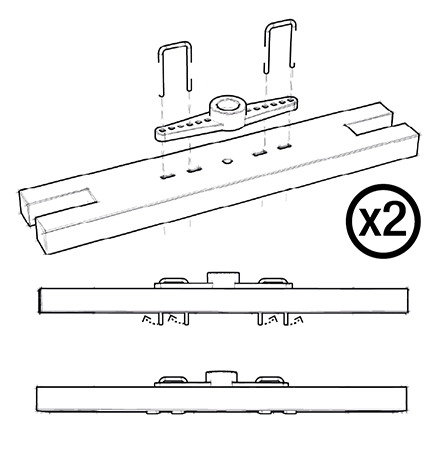
Place the motors in the brackets. Make sure to lead the cables through the bracket and that they don’t get pinched. Use the fasteners to secure the motor in place. Do this for both motors.
.
2
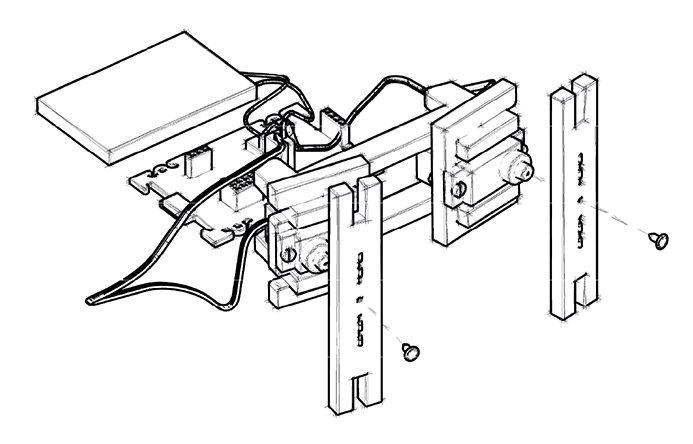
Press one of the two motor brackets into the slot of the side of the robot.
.
3
.
4
Repeat the process for the other side of the robot and push the second bracket into place.
.
5
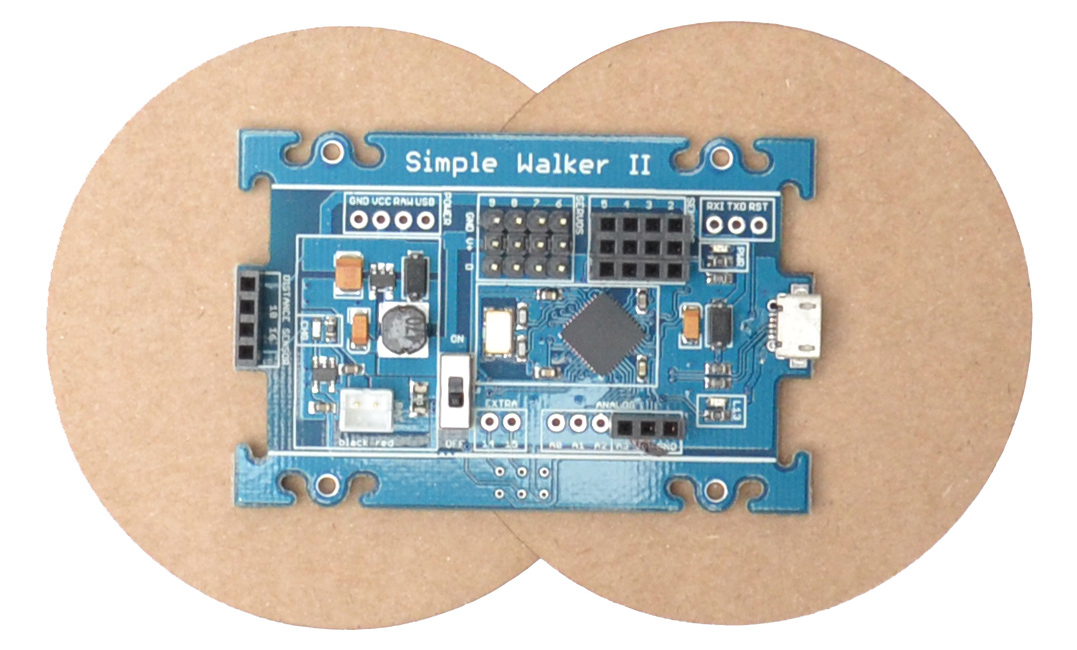
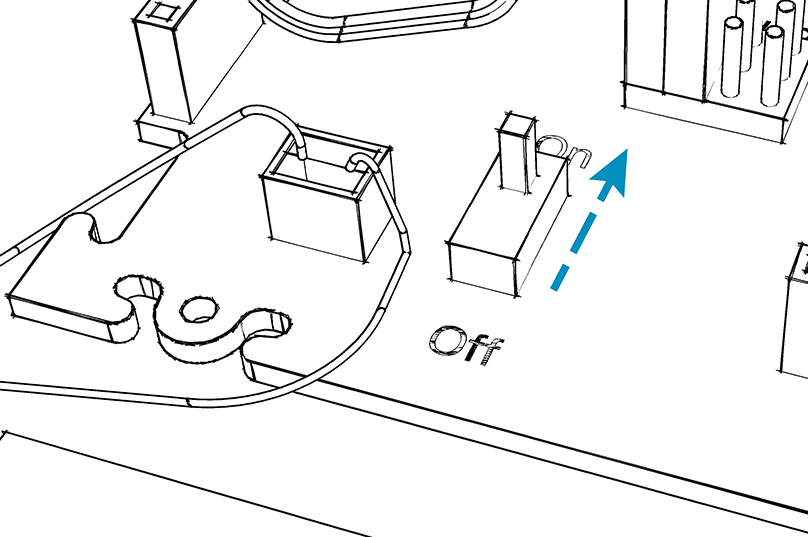
Take the Simple Walker electronics board. Make sure the switch is set to ‘off’.
.
6
Connect the servo motors to the board. Connect one of the motors to pin 8 and the other to pin 9. Make sure that they are connected the right way: The brown cable should be facing the outside of the board and the yellow cable should be facing the inside.
.
7
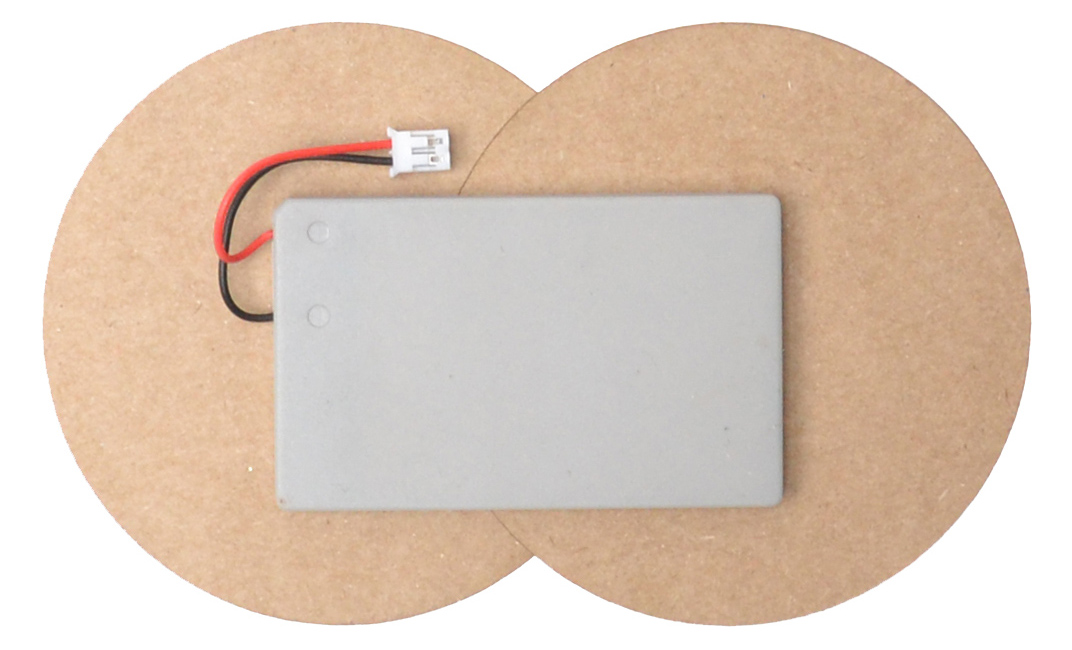
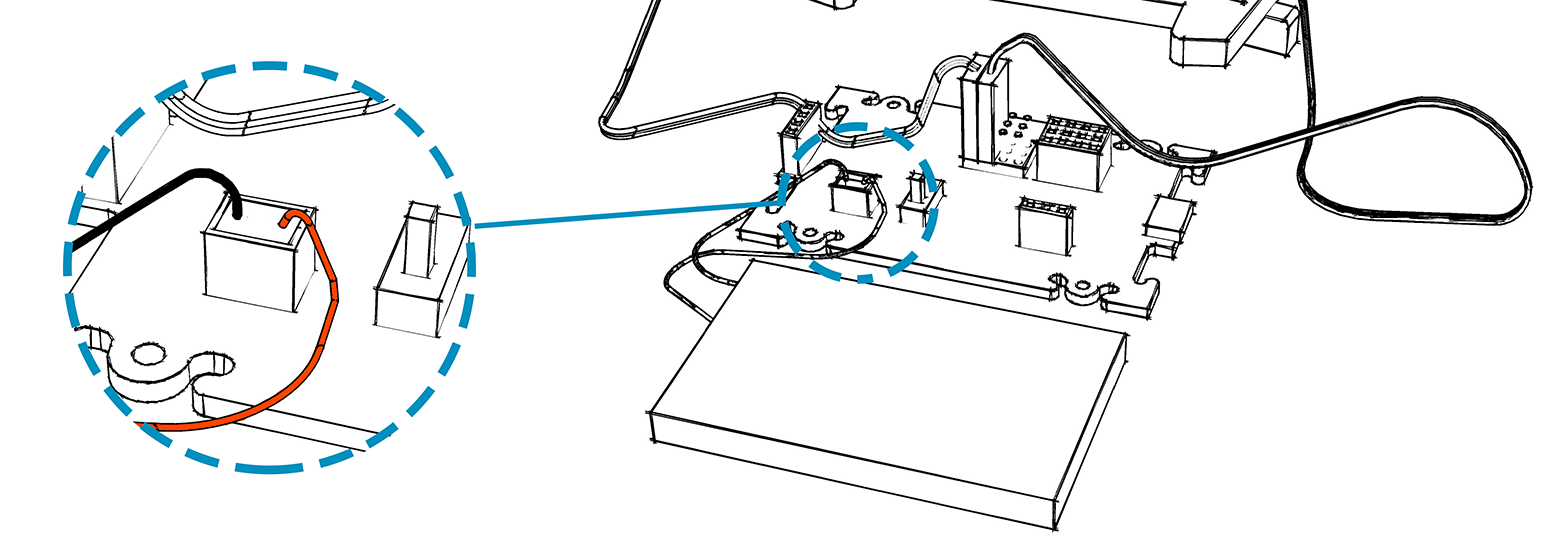
Now connect the battery to the board into the socket next to the switch. The battery can only be connected one way: the red cable facing the switch.
.
8
Set the switch of the robot to on. This should put the motors to the center position. If everything went well, you should hear the motor move briefly when turning it on. You should also see a LED on the board blink on and off repeatedly. If this is not the case check all the wiring in the previous steps. Leave it on until step 11
.
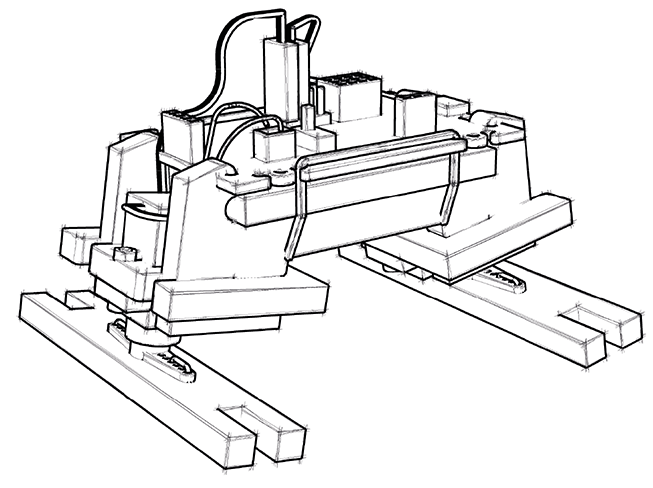
9
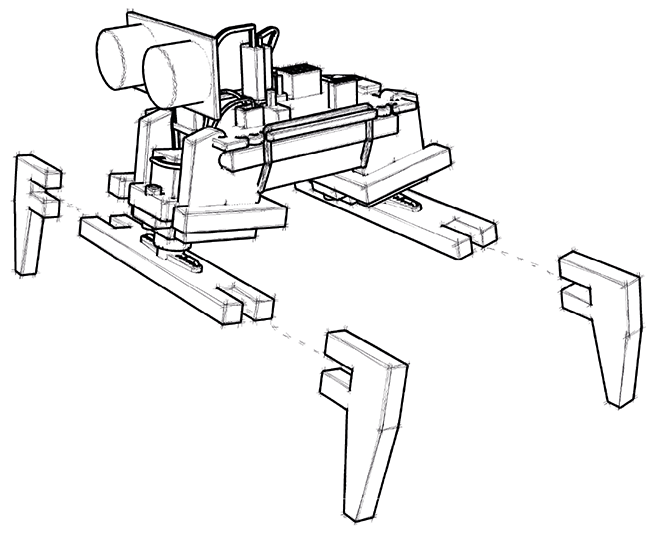
Using iron wire attach the plastic hip joint to the hips of the Simple Walker.
.
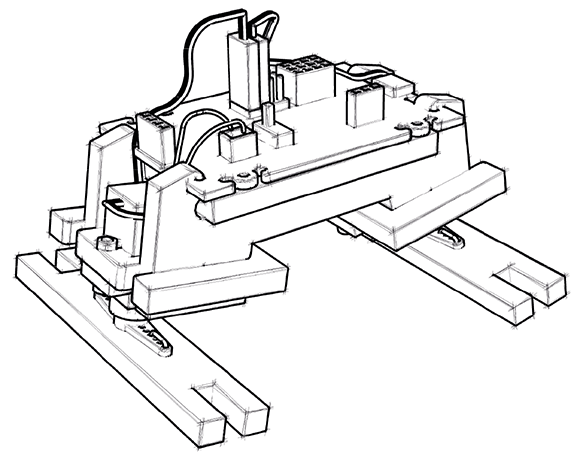
10
Attach both hips to the motors. Make sure they are perpendicular to the body of the robot. Use the two black screws to secure the hips.
.
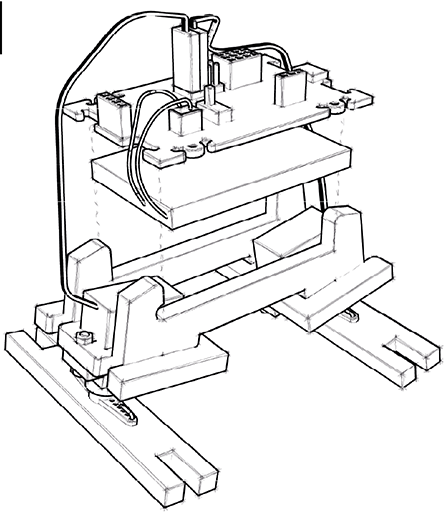
11
Mount the circuit board and the battery on the body of the Simple Walker.
.
12
.
13
Optionally: secure the board using an elastic band.
.
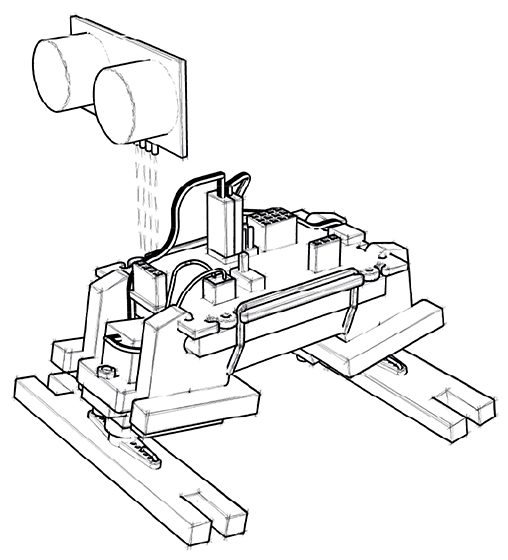
14
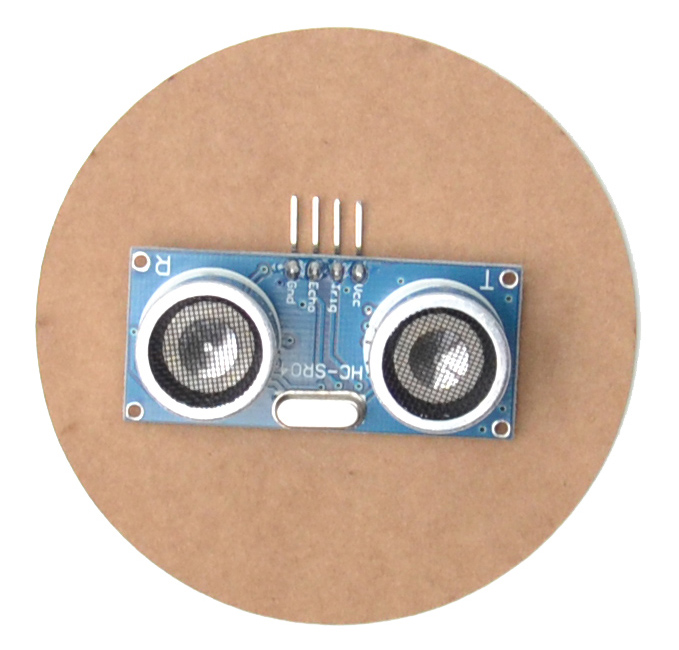
Plaats de afstandssensor.
.
15
Attach the legs to the hips of the robot. You are done!
.